 Photograph by Steve Raymer
 I had a brilliant idea (they happen once in awhile). To motivate myself up do stuffed animals like I've been wanting to I thought of doing animals A-Z. One animal per letter, preferably one that no one else has made yet. Is this something you would be interested in seeing? If so what animals would you like to see? I've started with an albatross.
Now that the albatross is out of the bag I will have to commit to finishing it. Let me know what you guys think and what animals you would like to see.
Thanks for reading, Kristina

Today was cupcake day! We've been meaning to make cupcakes for awhile and we finally got around to it. Its white cake but the icing is... BUBBLEGUM! How cool is that?
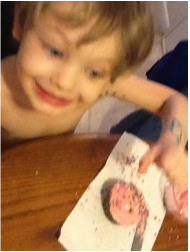
Each kid got to ice their own and then cover them with sprinkles. Bob didn't do too bad with the icing but I did help clean it up at the end. The sprinkle job was all his though.
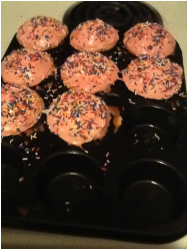
These were the final project minus the 4 we ate as we were icing, lol. The bubble gum icing was pretty fun to make (Mix ins), fun to frost with, and equally fun to eat. It didn't taste too shabby.
The kids did all the mixing, and helped with the pouring, they iced theirs and covered them with sprinkles. They had lots of fun!
Please share some fun you are having, we would love to hear about it!
Thanks for reading, Kristina
I don't think we blogged on the craft room makeover last year so I thought I would mention it. Mainly because I had to do it AGAIN! The room had become quite a mess and with the new addition of our large yarn order in the middle of the floor, I realized I had to clean it up! (I know this is Celebrate Crochet month and this does apply - I crochet in there! Ok, I don't but I store my yarn in there!)
This first set of photos show the craft room before the original makeover. This was my son's room for several years and then a bit of a catch all room. The walls are painted a nice California Blue and while the color looks bright it really sucks up the light. Most of our crafting items ended up piled in the corner and we didn't use the room to craft in but as storage.
Here are some shots after the original make over. We left one wall as an accent wall in the original blue color and painted the rest a nice light beige. Greg made the wood organizer that houses the plastic bins. On top we placed some baskets to organize our crafting items. Greg found an awesome sewing table at a local thrift shop and we placed that in front of the window for extra light. We set up a photo corner with a white shower curtain and added a folding table on the other wall for extra crafting space. On one of the doors we added a shoe organizer that we could use for yarn or smaller completed projects. On the walls we also added lots of interesting artwork and inspiration photos to encourage crafting.
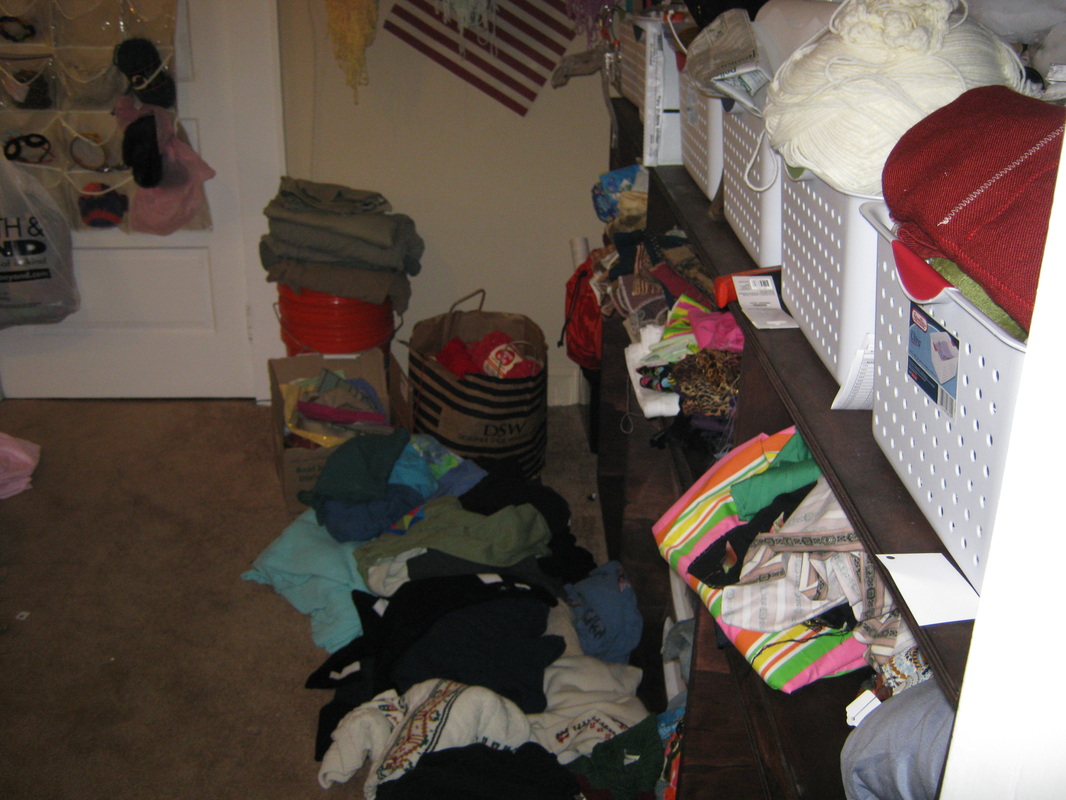
Here shows some shots of the room as a giant mess!! You can see why I needed to clean up!
This shows the room in progress of clean up all the way to almost done. I purchased boxes from the local office supply store and used painters blue tape and a marker to label the boxes (this way you can reuse the boxes without scribbling all over them!). I have the wood organizer and the baskets to clean up but otherwise the craft room is back in business!
The last picture is my spider plants. These plants originally started as a small baby spider plant that grew and grew. It was starting to look pitiful all squeezed into one pot so I transferred it into 6 new pots! Two small ones I took to work, one I set in the living room and these three are at the craft room window. Amazing plant!
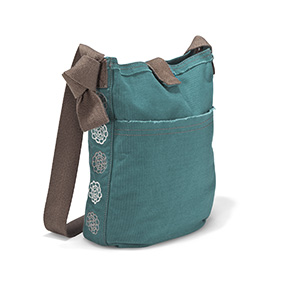
I link to mizzKodak's shop
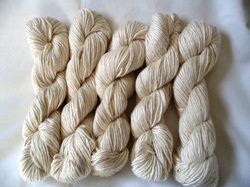
Have you ever bought yarn you loved so much you were afraid to use? I was taking spinning lessons awhile back and was given a small sample of silk to practice on. I was in love at first touch. It was followed quickly by buying myself a large lot of silk yarn (blended a little with merino). It was so soft I could cry. I have to explain that I am a very textural person, I love faux fur (the soft kind) silk, satin, velvet especially. Anything soft.
I link to the shop. GKMDesigns
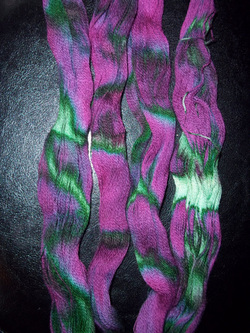
Being a sucker I found some more silk yarn online, 30% off, can't beat that. I just had to buy it. Especially since it was purple and green,my favorite color combination.
Now my dilema is this. I am terrified I am going to ruin it. Absurd I know, if I don't like the item just start over, right. And the enjoyment is in crocheting with it, right?
Please tell me I'm not alone. Please tell me someone out there has run into this same problem. And please, I would love suggestions. I am thinking a blanket...maybe a pillow? Or some soft supple gloves. But will the item get ruined? Sigh nothing lasts forever I suppose. I'll keep you posted on if I ever bite the bullet.

My son, David, has adopted a pet hedge hog named Quinn (short for Harley Quinn). So we are learning all about how to take care of hedge hogs.
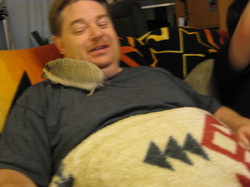
Hedge hogs are quite interesting. They are insectivores and in captivity they eat cat food......with very loud crunching. It was surprising how loud it was!
They also like to run run run in a wheel, large size, for hours on end, at night because they are nocturnal! And given the chance, they will run all over you, your room, your personal stuff, into very small places, etc.

While a hedgie is an unusual pet and has some quirks, they are cute and fun to socialize with. Here is Greg and David playing with her. David plays (or allows her to run all over him) about an hour or so every night. Supposedly this encourages the hedgie to bond to the human and allows the human get used to the prickles! lol
Being a crafty person I am already researching the fun things we can make for hedge hogs and I am sure to blog about it! Have a great one!
I am such a slacker! I totally forgot to upload the pictures from Thanksgiving and it's almost Christmas!
Greg, Lin and Rami talk about the frying turkey (you can't see the fryer but it's there and it's cooking a great turkey!). Greg injected our turkey with cajun spices and butter then sprinkles sea salt and spices on the outside to make the skin so tasty. Yumm! Once you have had fried turkey you will never want to eat a baked turkey ever again.
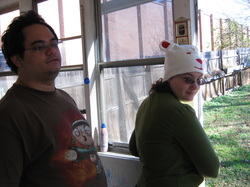
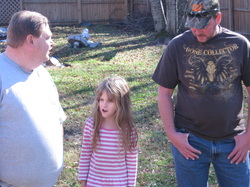
Kristina in her funny hat and Mark chilling on the back porch watching the grand babies run around the back yard. We had some great weather that day - sunny and cool.
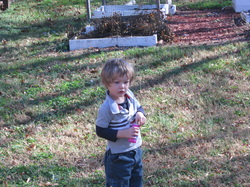
Mr. Cuteness himself, Bob, blowing some bubbles. He had a great time running around, kicking a ball, chasing the dog, chasing his sister and blowing bubbles when he needed a break.
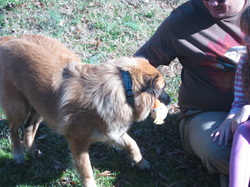
Even Layla got some loving and had fun playing catch with her stuffed chicken. Unfortunately the chicken didn't survive much past this day. A few days later she had chewed it to pieces. Seems she really likes stuffing.
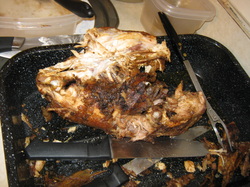
Here is the turkey carcass. We pretty much demolished the poor bird but man was it delicious!!
A word of thanks for family and friends! Where would we be without them? Hugs and kisses to you all!
Merry Christmas, Happy Holidays and Best Wishes for a Great and Fantastically Creative New Year!!

Well I once again waited until it was too late to plant a green mulch cover for my garden. So I went out, buried what compost I had been saving in zip lock bags in my fridge. For more information on composting see our other blog on the subject.
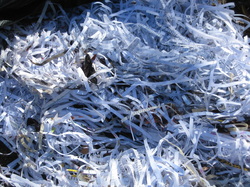
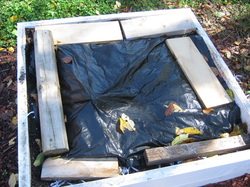
_I then covered the beds in some shredded paper (great way to get value out of that junk mail and stupid bills) and then covered the beds with black plastic trash bags.
The beds are a bit bigger than our trash bags so we used scrap pieces of wood to hold down the edges on some and used some garden soil to hold down the others.
My husband said this was the poor man's way to winterize the garden which is fine since we are poor :). Hopefully the plastic will help the beds stay warm and encourage lots of worm munching of the compost and paper which will add some great worm casings and worm tunnels for my spring garden.

_ It's not too late to get your house ready for winter. All reports suggest this year we will have a very cold and very wet (snow?!?) winter. So here are some tips:
Get your heating system checked by a professional as soon as possible. It's better to have a check up to identify any potential problems then wait until the heater isn't working since most companies charge extra for emergencies.
Get your duct work checked out. Dust, dirt, animal/people hair and more can clog or block your duct work making it work harder to get the air to you. Over time joints can pull apart, leaking your warm (or cool) air into the wrong areas - don't throw your money away heating up your crawl space!
Also remember to change your filters once a month (or as often as the manufacturer recommends).
_ Speaking of crawl spaces - check if you need to add insulation to your crawl space and in your attic. Cold air comes up from the earth so blocking that from coming into the house will make your house warmer by stopping that creeping cold. A lot of heat is lost via the attic (heat rises) so insulate that area to keep your heat in where it belongs.

_ Other areas to check are around doors and windows - block out any drafts so that the cool air outside stays out and your warm air stays in with you. Keep your heater from working over-time to save yourself some money and help save the environment at the same time!
Let's all have a fun, safe and WARM winter :)
One of my oh so pretty marigolds :)
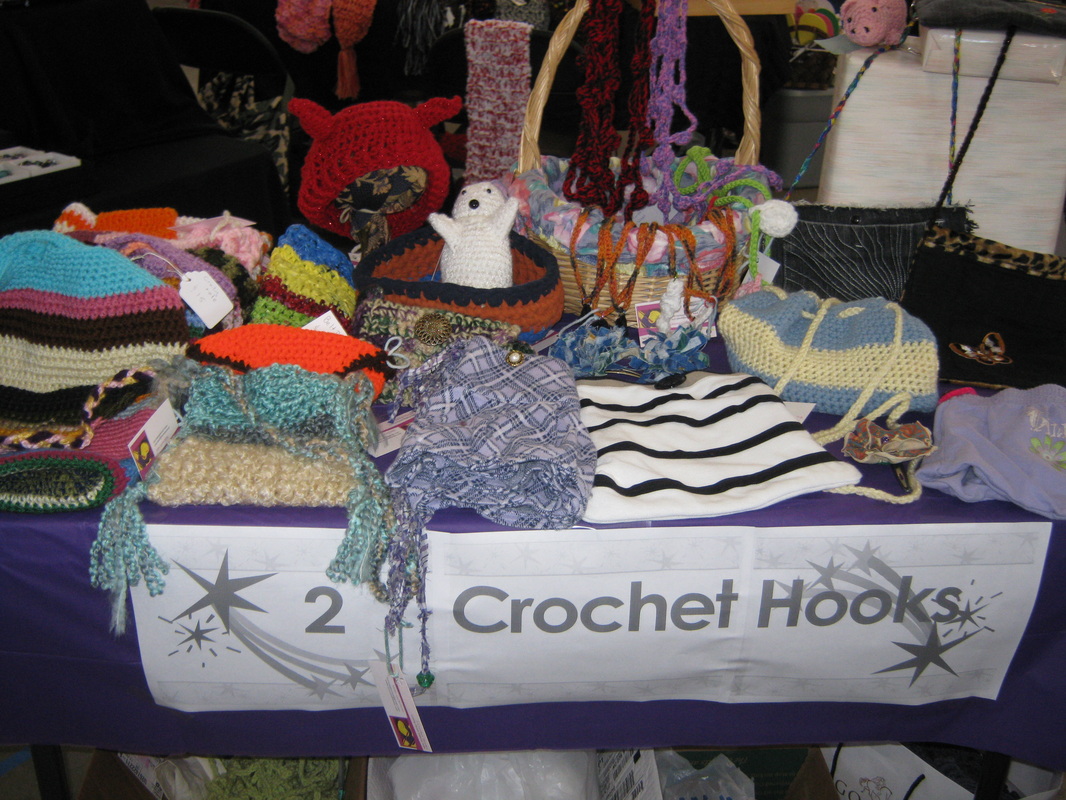
This coming Saturday (12/3) we will be attending our last craft fair of the year. With Thanksgiving just past and the Christmas holiday's fast approaching, I thought we would take a look back at our first fair this year. Actually our first fair as vendor ever!
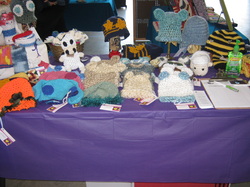
The craft fair was being held at the Durham Armory and we lucked up with a table on the inside. We were also able to set up the tables the night before and I for one appreciated that opportunity. This being our first fair, I was unsure how to set up our items to best attract attention so I needed that extra time.
I think the tables turned out great! We did rearrange a bit during the day but that's probably typical for any vendors.
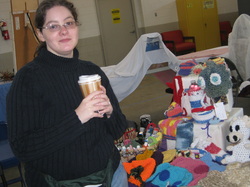
Our booth was near the roll up doors so it was a bit breezy first thing in the morning. Ok really until around noon. Here is Kristina trying to warm up with some free coffee. Unfortunately the coffee was barely warm. The ladies were unsure how to use the armory coffee pots and we sampled it about an hour before a soldier came in to show them how it's done.
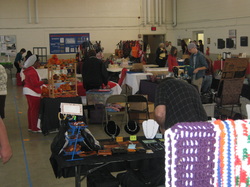
The inside of the armory was full of vendors of all kinds. We met some really awesome crafters and artists, got a chance to view a variety of artwork, learn some hints and tips for future craft fairs and even made some sales of our own. All in all I think it was a successful first event and we both look forward to having a booth at more fairs. Look for us!!
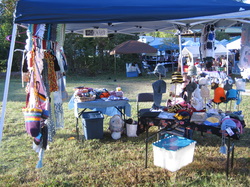
Here is a photo of our Durham Craft Market booth. You can see we have changed our tables around a bit and added more great items for sale. We have an awning to give shade and support a chain down one side to hang our clothes and purses on. We made some cute hat stands to display the hats better as well. Some with little 'arms' to show off the scarves.
I can tell we need longer tablecloths to hide our bins!
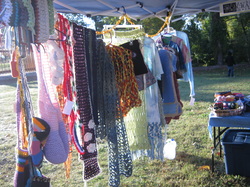
Close up on the chain/clothes rack set up. For the indoor show we will be using our original clothes rack made from PVC and painted a light purple. Greg made the rack and the hat stands. He plans to make another rack, like a coat rack, that we can use to hang the purses when we are indoors and won't have the chain.
Will post I am sure about how the Durham Holiday Fair after it is all over. Wish us luck and lots of sales!
Hope everyone had a great Thanksgiving! Will blog about our fun day and give thanks later but for now I thought I would post this info about gardening. Enjoy!
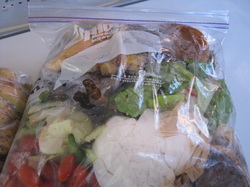
I wanted to share a great idea I came across when I was researching composting for the garden. Composting in a zip lock bag! That's right, you can compost a gallon bag at a time using a zip lock bag, compost appropriate scraps and your refrigerator.
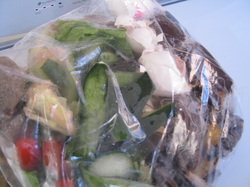
Basically I am taking a gallon sized bag and adding my fruit and veggie scraps, egg shells, coffee grounds (with the filter) and tea bags. For compost remember not to add any dairy, meat or oils to your bag as those items can make an odor and attract pests (like mice! yuck!).
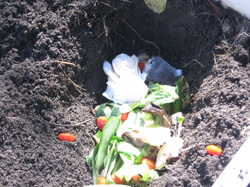
_ I just dig a hole (or trench), drop in the scraps and cover it back up. The worms do the rest.
I have found that I can start a new bag every Sunday and bury it the next Sunday, it has a good bit of materials in it and that gives the worms plenty of time to munch before I add more (I am alternating between 4 of the beds). So far it has been working great, takes little time or effort and hopefully will improve my soil for spring planting!
Some great places to get more info on composting:
http://www.gardenorganic.org.uk/organicgardening/compost_pf.php
http://www.plantea.com/compost-materials.htm
http://www.thegardeningguru.com/index-21.html
http://www.compost-info-guide.com/
http://www.epa.gov/osw/conserve/rrr/composting/index.htm
While you are out there feeding the worms remember to stop and smell the flowers! :)